
 |
||
|
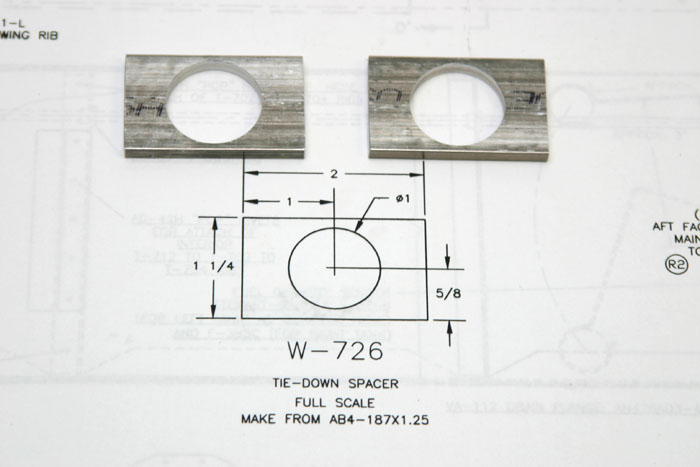
Now its
time to fabricate the wing tiedown assembly for the right wing.
Basically this is where you will tie the plane down on the ramp
in high wind. The assembly is attached to the wing spar for strength
with several bolts. Also, the aileron belcrank attached to this
assembly. You can think of this as the "hinge" so that
when you move the stick right, the pushrod can move the aileron.
Pretty cool stuff! |
||
 |
||
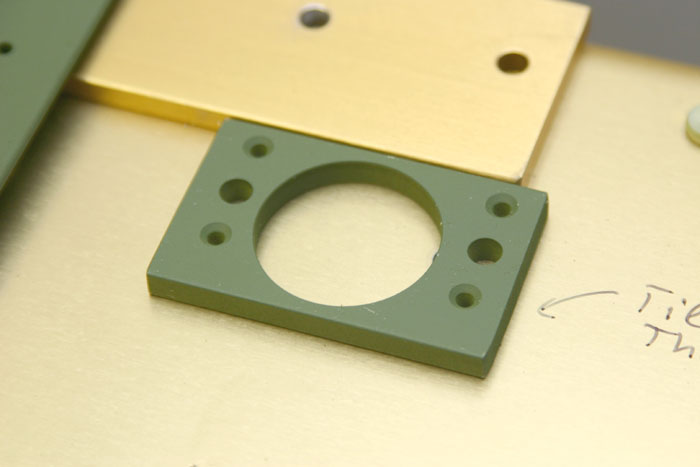
| Here is a pic of one of the spacers up close after priming. Notice there are additional holes on the sides now, some of which are machine countersunk. These will hold a nutplate in place that will be used to attach the aileron belcrank that I mentioned earlier. | ||
 |
||
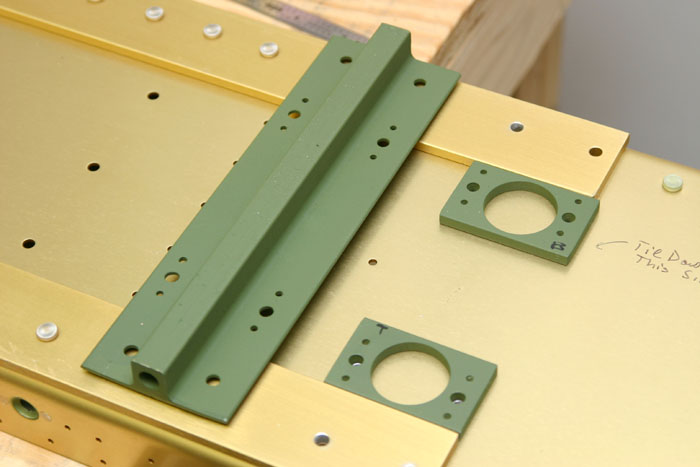
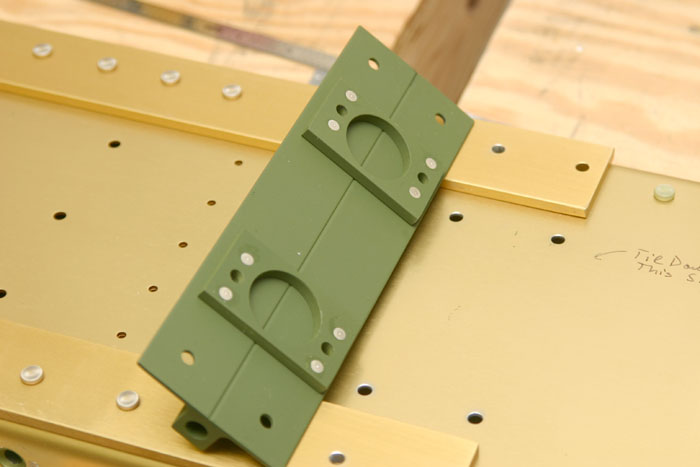
| Here is a group photo of the spacers and the tiedown bracket itself. You can see there is a gap under the bracket...that is where the spacers will go to add strength. | ||
 |
||
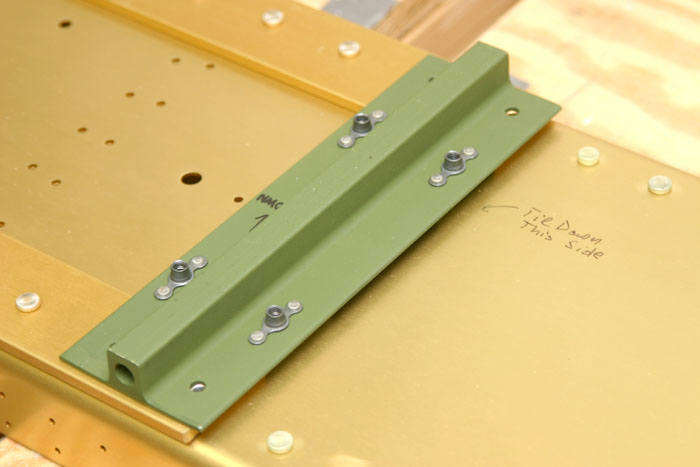
| Here is a picture of the assembly set in place with the nutplates attached to the tiedown fixture. Remember the countersunk tiedown spacers underneath the bracket? Well they were countersunk so that when these nutplates are riveted in place, the "bottom" of the spacer cal lay flush against the spar. | ||
 |
||
| A picture is worth a thousand words. This is what I am talking about. These rivets that hold the nutplate need to be flush so the fixture lays flat against the spar. | ||
 |
||
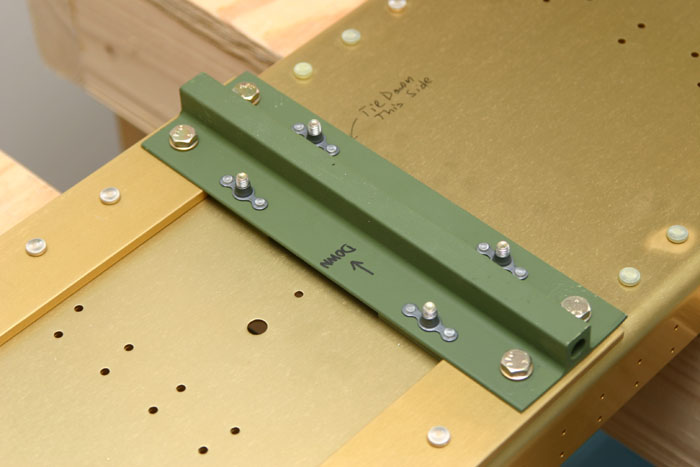
| And here it is all bolted to the spar. There are four bolts that hold the tiedown assy to the spar, and four more hold the aileron belcrank bracket to the spar. | ||
 |
||
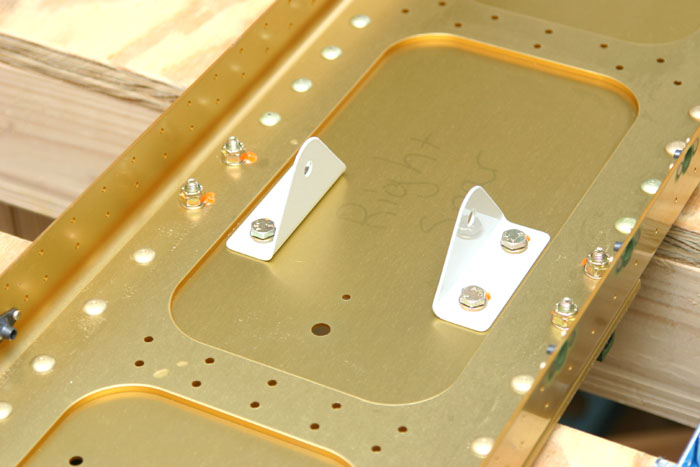
| This is the other side of the spar. Here you can see the aileron belcrank brackets bolted in place. These bolts go through the nutplates on the other side of the spar. Notice the orange gunk on the nuts and bolts. This is "locktite", it hardens after you torque the nuts into place....its to remind you which nuts you have torqued and which you have not...and if for some reason years down the road a nut slips a bit this orange stuff is brittle and will crack so you can visually see of any nuts have slipped. Good for annual inspections! | ||