
 |
|||
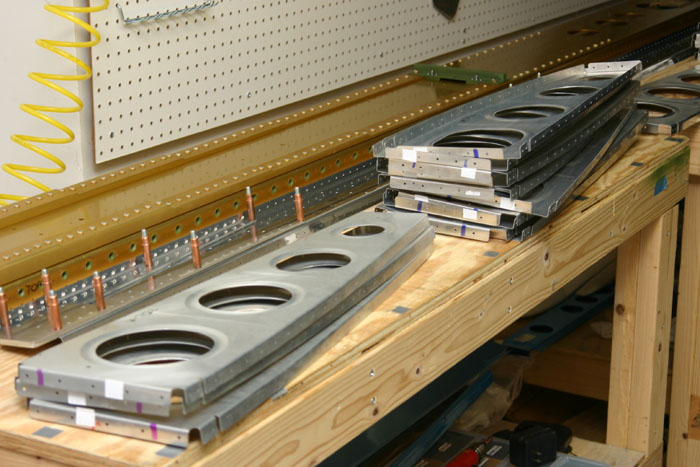
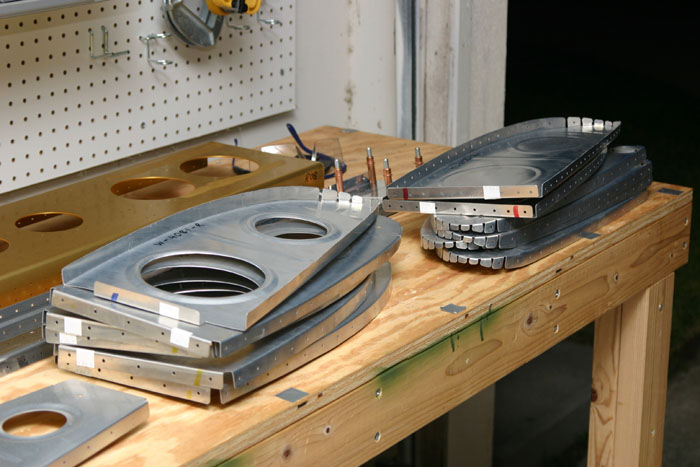
| Ahhhh....the joy of preparing the wing ribs. There are 14 main wing ribs plus many more for the leading edge ribs that need to be readied for assembly. Standard stuff....fluting, deburring, more deburring, and more deburring. This part of the project is tedious and BORING...but it is really important and must be done right. I used mostly my die grinder and bench grinder for the edges and holes, and some flexible sandpaper for the notches that are all over the place. |
|||
 |
|||
| And here are the leading edge ribs....see all of the notches in the leading edges? It takes forever the deburr them all. The fluting is also pretty challenging on the larger ribs. | |||
 |
|||
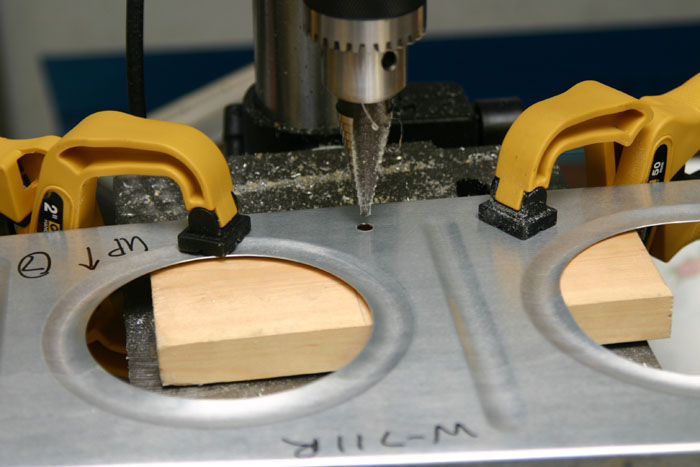
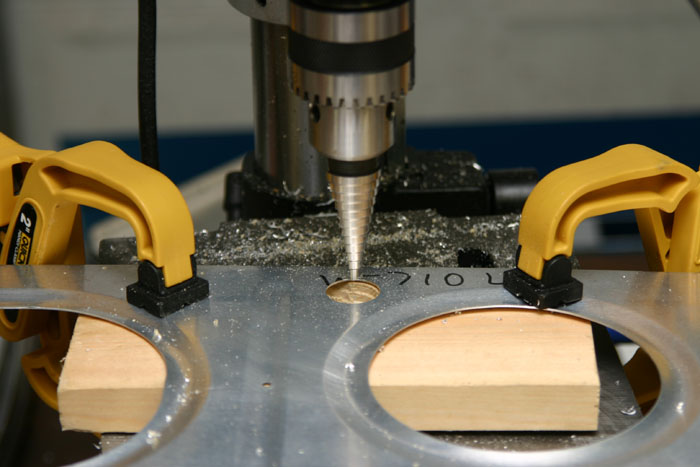
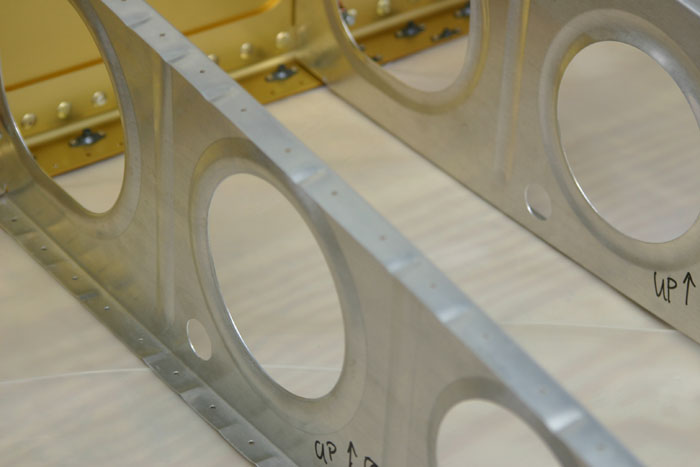
| Now for something that is a little more fun. You need to make plans of some sort on how you are going to run your wires out to the edges of the wings for the landing light, strobes, and nav lights. I decided on a safe place and drilled pilot holes with a hand drill. Then I clamped the ribs (all 14 of them!!) in the drill press and opened up the holes so that my conduit can fit. I plan to run the wires in the conduit. It is flexible, cheap, light, and practically indestructable. | |||
 |
|||
| And here I have opened up the hole. The alignment of the holes from rib-to-rib isn't very critical since the conduit is very flexible, but it turned out very nice and all of the holes are very much lined up as you sight down the wing through the holes. You may be wondering where my pitot line will go. I decided to build the right wing first so I don't have to worry about pitot line placement until I get to the left wing. | |||
 |
|||
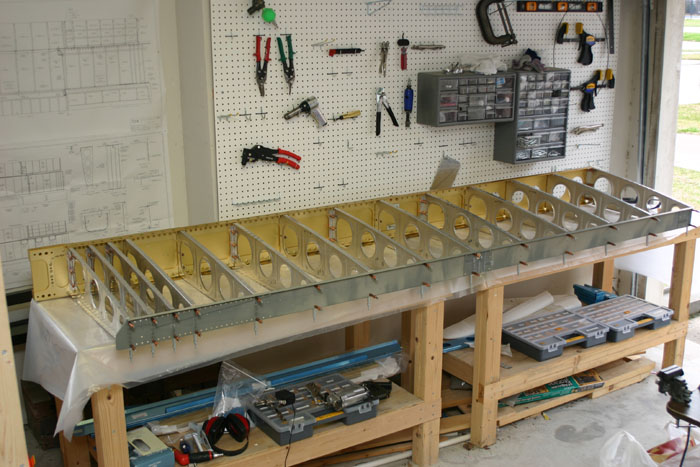
| Finally some progress!!!! I was pumped to cleco the spars to the ribs and take this picture. Progress has been slow but this was really cool to accomplish. | |||
 |
|||
| And another picture! The 'wing' in this orientation is flying into the wall to the left. You can see my conduit hole in the rib at the bottom. | |||
 |
|||
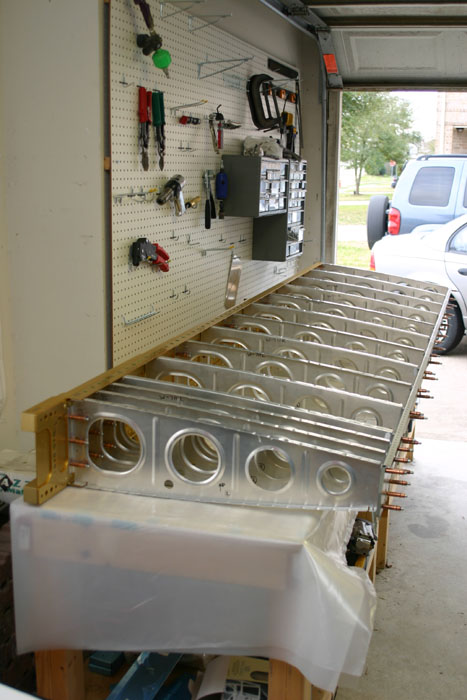
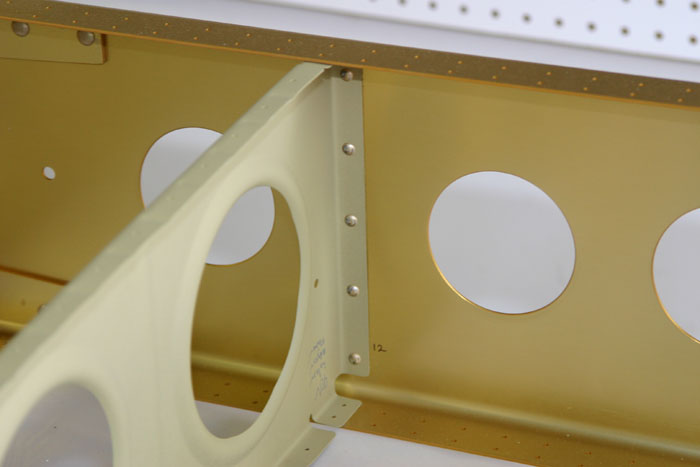
| Here you can see a close up of the conduit holes in the same relative location on the ribs. | |||
 |
|||
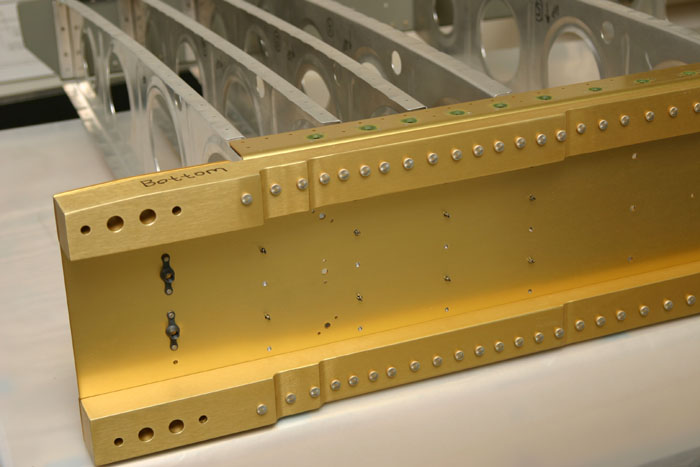
| Here is a picture of the rear spar cleco'd in place. I have match drilled the rib-to-rear-spar holes to final size. | |||
 |
|||
| And here is the forward spar cleco'd on. I have opened op the rib-to-spar holes to final size. | |||
 |
|||
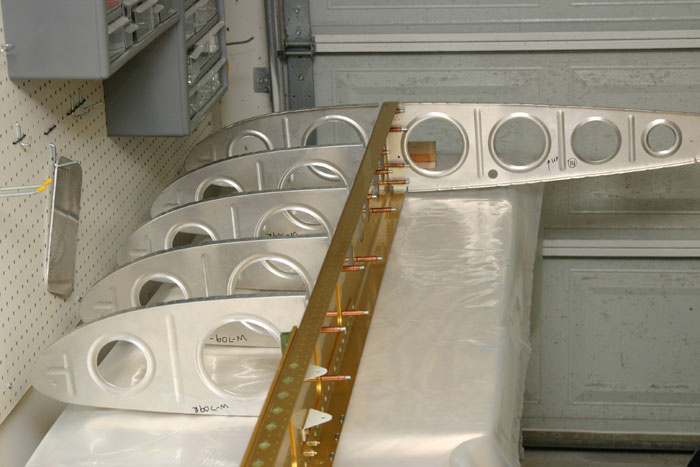
| And here is a picture of the outboard ribs cleco'd on temporarily to the spar for match drilling. Cool! You may be wondering where the inboard leading edge ribs are. Well they are part of the fuel tank which is built separately (later) so the fitting isn't done at this stage. Next up will be to prime the ribs and rivet the ribs to the spars! | |||
 |
|||
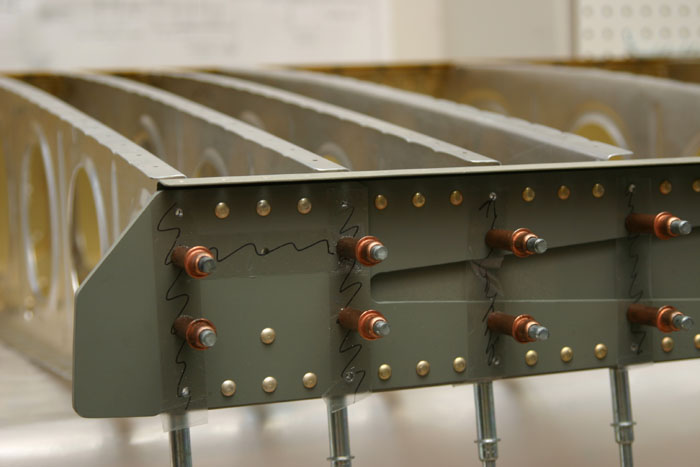
| Here I have riveted the main ribs to the forward spar. This is fairly easy riveting, but you do need to use the gun (can't squeeze em). Its easier with 2 people but one person can do it....kinda nervous with that gun and bucking bar rattling around my expensive spar though! | |||
 |
|||
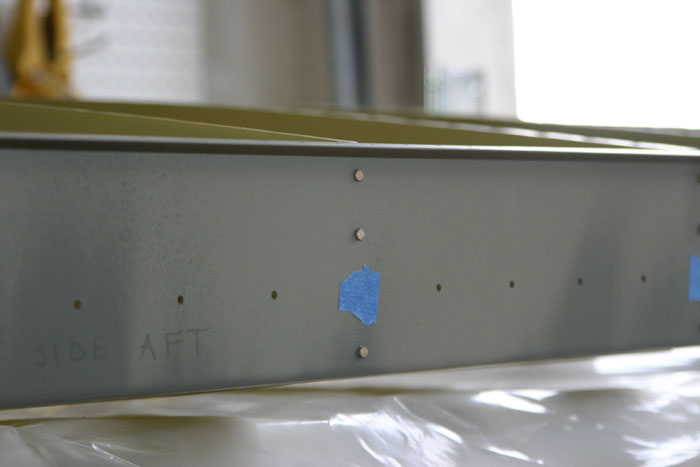
| Next you rivet the rear spar on. This is easy work because I could reach all of these rivets with my pneumatic squeezer. Notice that I have tape over one of the holes for each rib. You don't put rivets in here yet because later on there will be an aileron gap fairing and flap brace that spans the length of the wing....that will be riveted to the assy here. | |||
 |
|||
| Finally some progress! The ribs are riveted to the spars. In this pic this is the right wing and it is flying into the wall. The ribs on the left side of the picture are closer together because this is where you will step on the wing to get into the cockpit! Next thing I will do is mount this entire thing in the jig so I can fit the wing skins on! | |||